Team-managed projects in Jira Service Management

Overview
In Jira Service Management, there are two types of service projects: company-managed and team-managed.
While company-managed projects are currently the better known project type in Jira Service Management, team-managed projects unlock a new simplified project creation experience that is opened up to project admins.
This guide is designed to help admins understand if team-managed service projects are right for them, and how to get started and thrive with this project type in Jira Service Management.
Why team-managed projects
Much as the name implies, team-managed projects are set up and maintained by your team (project admins), unlike company-managed projects which require site admins to configure.
Team-managed projects are especially great for business teams who want to get started quickly and create their own service project without impacting shared settings or shared configurations across the organization.
Team-managed vs. company-managed
Team-managed projects
Projects are set up and maintained by project admins
Simplified configuration to get started quickly
Configuration doesn’t impact other projects
- Each project has its own fields, request types, workflows, and statuses
- No issue types — request type fields are dragged and dropped within a project
Workflow creation with simple rules
- Each request type has its own workflow
- Workflows and statuses can be copied to other request types within a project, but not between projects
Role-based permissions
Essential features only
Ideal for basic request management use cases
- Single view of request form and issue view
- Global custom fields that are contained to your project
Customer-facing transitions are available in both team-managed and company-managed projects
Company-managed projects
Projects are set up and maintained by Jira admins
Advanced configuration for full customization and flexibility
Configuration that can be shared across projects
-
Fields, issue types, workflows, and statuses are all shared across projects in your Jira instance
-
Each request type is associated with an issue type, and request type fields are based on their associated issue type’s fields
Advanced workflow functionality
-
Includes post functions, validators, conditions, and transition screens
-
Workflows are independent of request types so multiple request types can share the same workflow
-
Workflows are global and share statuses across projects
More granular permission schemes
Advanced features
Ideal for robust incident and change management use cases
-
Separate tabs for request type configuration — the request form and the issue view
-
Global custom fields that are shared across projects
The ITSM project template and its associated incident management (i.e., major incident escalation, stakeholder communications, etc.) and change management (i.e., change calendar, deployment gating, etc.) functionality is only available in company-managed projects.
Learn more about the differences between project setups, issues and request types, and workflows in team-managed vs. company-managed projects.
It’s important to note that if you decide to switch project types (team-managed to company-managed or vice versa) after you create a project, you’ll need to create a new project. Migrating your requests between project types is complex, but possible.
Getting started with team-managed projects
Enable team-managed projects in Jira Service Management
To get started with team-managed projects, you may need to first enable them in your instance.
To enable (or disable) team-managed projects from your project settings:
- From your Jira Service Management site, go to Settings.
- Select Products.
- Under Configuration in the Jira Service Management section, find the Project types section.
- Under Team-managed projects, use the toggle to enable or disable team-managed projects on your site.
By default, Jira Service Management gives all enabled users the Create team-managed projects global permission. To prevent users from creating team-managed projects you can manage which groups are granted this permission in your global settings. Learn how to change permissions in your global settings.
We recommend checking your global permissions so that you know who can create and use team-managed projects. Learn more about the admin role in team-managed projects.
Create a team-managed project
To find out if you can create your own project, choose Projects in the navigation bar. If you see the Create project option, then you're all set. If not, check with your Jira admin for help creating a project.
To create a team-managed service project:
- Choose Projects > Create project.
- Select Service Management under Project templates or Jira Service Management under Products.
- Learn more about the available templates and select a template.
- Choose project type: Team-managed.
- Give your project a name. You can change your service project template by selecting Change template.
- Choose who can access your project.
- Select Create.
A project key will automatically be generated when the project is created.
To edit your team-managed service project’s details:
- From your project’s sidebar, select Project settings > Details.
Learn more about editing your team-managed project’s details →
Set up request types in team-managed service projects
Request types categorize your service project's work. You can customize them to collect the right information from your customers, so your agents know exactly how to help them. Add more request types to your service project to distinguish different tasks in unique ways and present different forms to collect the right information from your customers.
To add your own request types:
- From your project’s sidebar, select Project settings > Request types.
- From the sidebar, select + Add request type.
- Give your request type a name, description, and an icon.
- Select Create.
You can add up to 30 request types.
Your new request type appears in the sidebar, alongside the other request types your service project uses. Your request type appears in the customer portal as a form your customers can use to request help.
Learn more about setting up request types in team-managed projects →
Set up email requests in team-managed projects
You can set up a service project email address so you can capture requests from your customers in a single place. Requests that are sent to your service project’s email address are automatically added to your queues, so your team can focus on customers without worrying about missing requests or managing multiple inboxes.
Jira Service Management projects come with a default email address, or you can add a custom email address that is already in use by your team.
To add a custom email account:
- From your service project, select Service project settings > Channels > Email.
- Choose your email service provider and follow the prompts to link your account.
Customize the portal and help center in your team-managed projects
The online portal and help center offers customization options that help you make sure your customers find the information they need while delivering a consistent brand experience.
To customize your portal:
- From your service project, go to Service project settings > Channels > Customer portal.
- Edit the Name, Introduction text, and Logo fields as needed.
Your logo will also appear in notifications sent by your service project.
To customize your help center:
- Go to Settings > Products > Jira Service Management > Configuration.
- Under Customize your help center, you’ll see a list of customization options available to you, including: login message, announcement, look and feel, language, and home page layout.
- Choose the relevant option, make changes, and select Save changes.
Add your team members
Once you have your service project established, it’s time to start inviting team members.
To give people or groups specific internal access and additional roles in your service project:
- From your project's sidebar, select Service project settings > Internal access.
- Select Add people.
- Type a name, group, or email address.
- Select the person’s role in your project from the Role dropdown.
- Select Add.
Learn more about managing how people access your team-managed project →
Learn how to manage customers and organizations in your team-managed project →
Best practices and tips
Build a knowledge-centric service portal
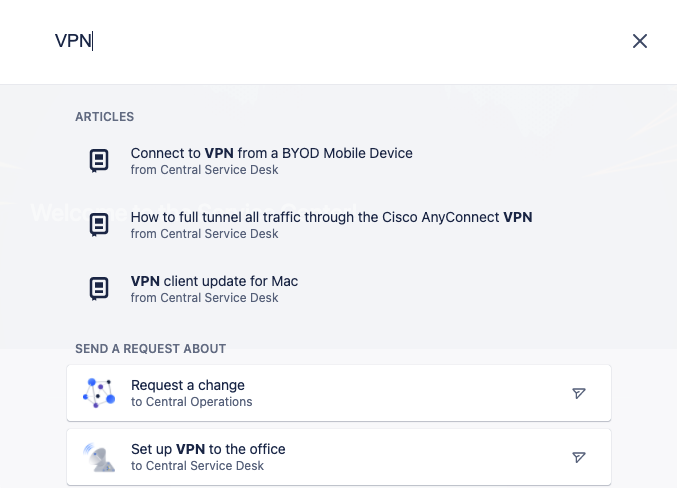
When support teams put answers to common questions directly at users’ fingertips, they encourage self-service that satisfies customers and reduces request volume. This frees up time for agents to focus on solving more critical issues. Jira Service Management also improves agent productivity by providing immediate access to knowledge base articles right from an issue or request. Based on the type of request, agents can choose from recommended knowledge articles or search within existing articles to respond to the user’s request.

Leverage automation
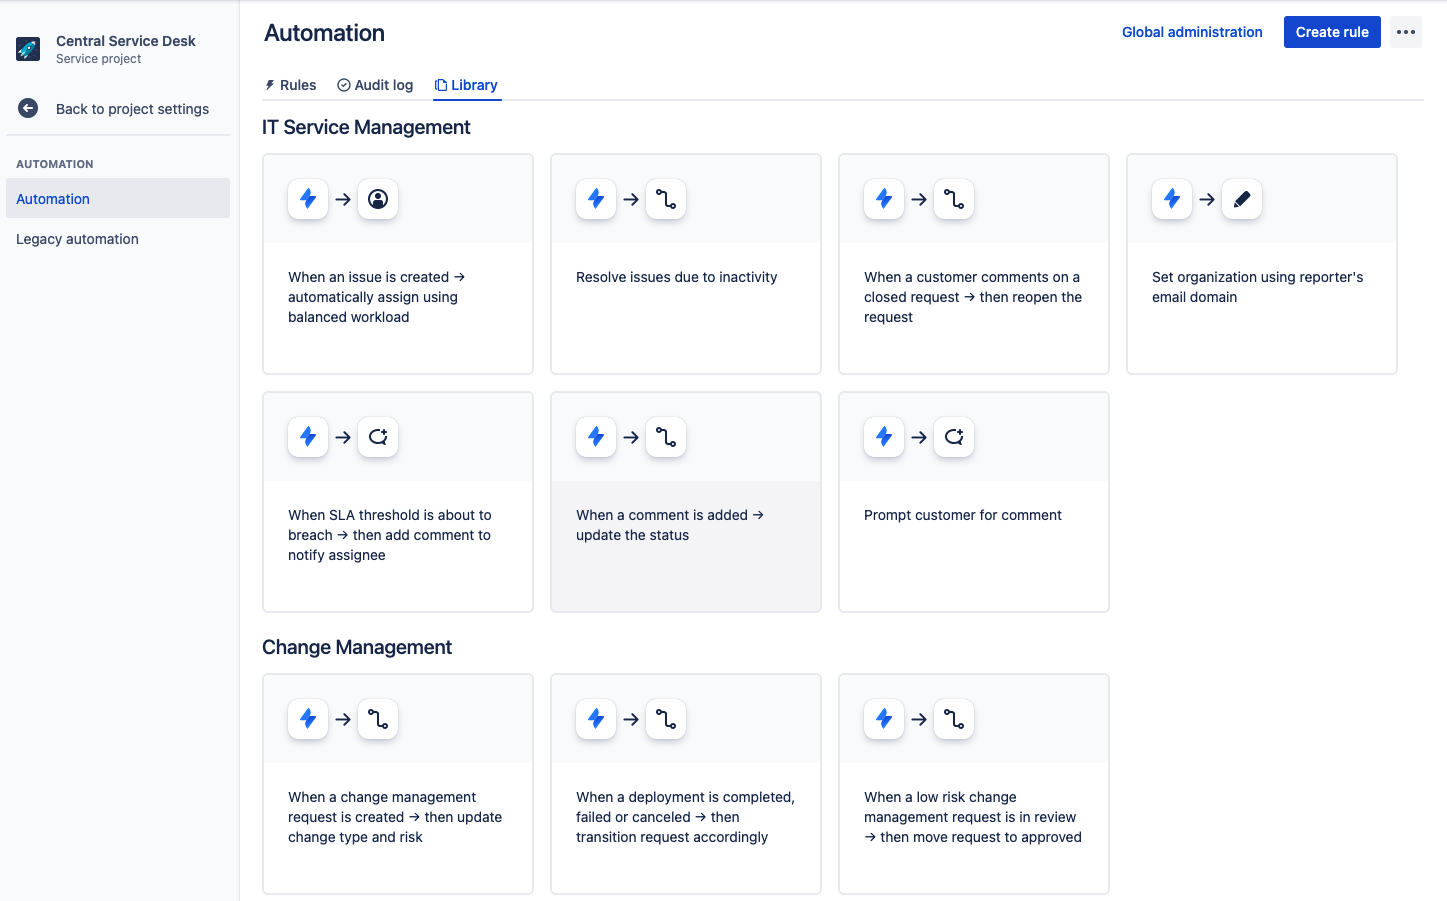
When you incorporate automation into your self-service capability, you reduce the overall workload for your service team by removing common repetitive tasks. Your service project comes with preset automation rules, or you can create your own custom automation rules to fit what your organization needs.

Visualize trends with reports
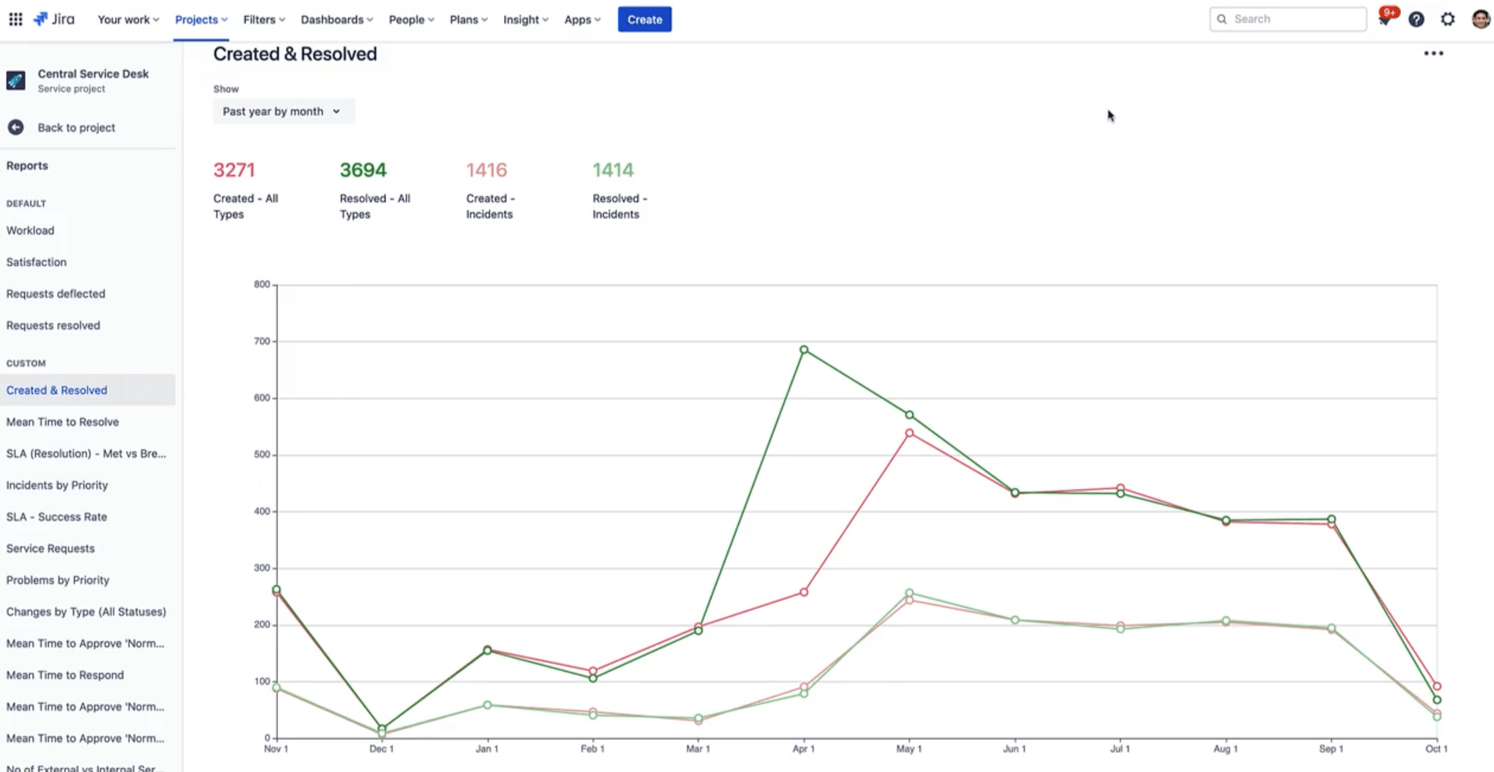
Reports are visual representations of data you can use to understand what's happening in your service project. Go to Reports from your service project to view them.
Your service project comes with a set of default reports which you can edit or create. These measure common service project functions such as workload, satisfaction, and requests deflected or resolved. We also provide a set of custom reports depending on the project template you chose. You can edit these or create new ones if you prefer.

Getting Started
Enterprise Service Management
Tips and Tricks
Form design