Articles
Tutorials
Interactive Guides
Tips for scripting tasks with Bitbucket Pipelines

Sten Pittet
Contributing Writer
With Bitbucket Pipelines you can quickly adopt a continuous integration or continuous delivery workflow for your repositories. An essential part of this process is to turn manual processes into scripts that can be run automatically by a machine without the need for human intervention. But sometimes it can be tricky to automate tasks as you might have some issues with authentication, installing dependencies or reporting issues. This guide will help you with some tips for writing your scripts!
Time
30 minutes
Audience
You are new to continuous deployment and/or Bitbucket Pipelines
Step 1: Don't log sensitive information!
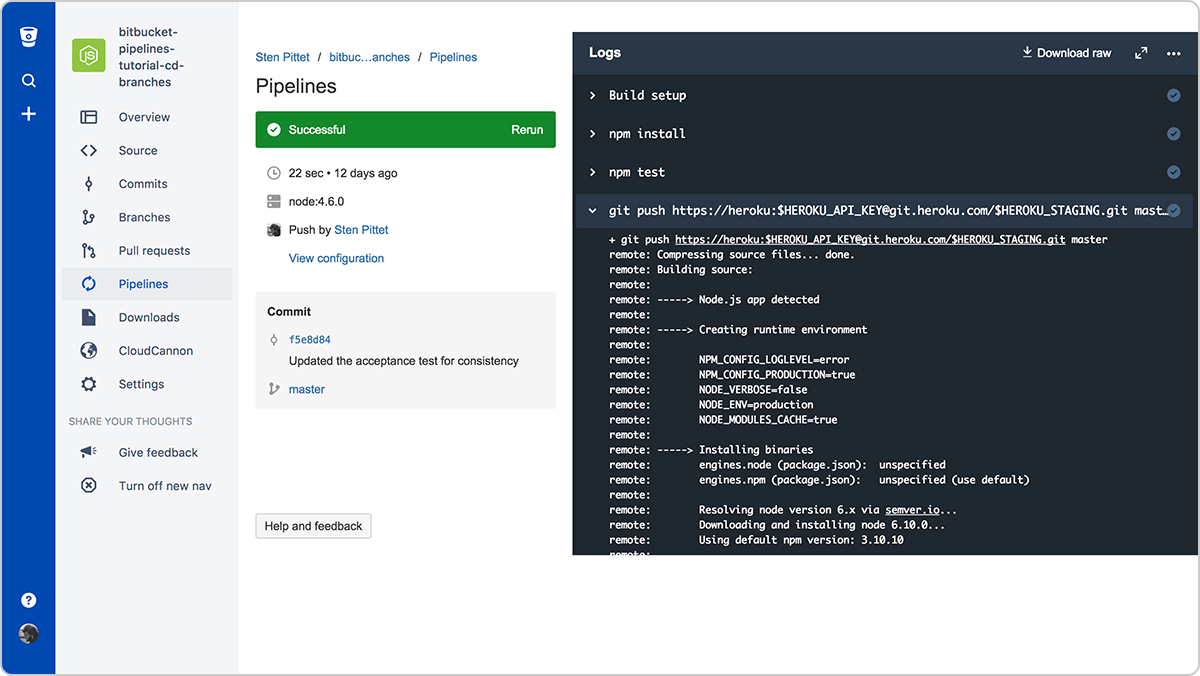
Before moving any further into the world of automation, you need to review your logs and make sure that you do not output sensitive data such as API keys, credentials, or any information that can compromise your system. As soon as you start using Bitbucket Pipelines to run your scripts the logs will be stored and readable by anyone who has access to your repository.
Step 2: Use SSH keys to connect to remote servers
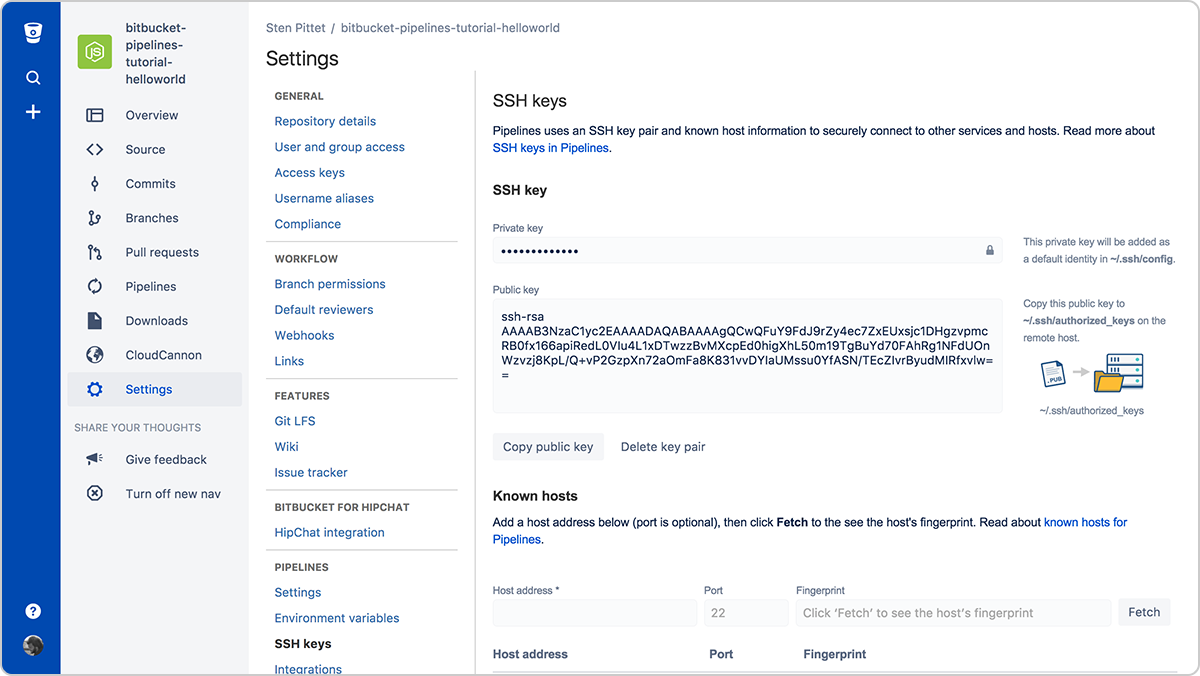
Authentication is often one of the most troublesome parts of automation. SSH keys have the double advantage of making a connection to remote servers easy to manage, and being very secure. With Bitbucket Pipelines you can easily generate a new key pair that can be used on every pipeline run to connect to remote servers.

You'll simply need to copy the public key in your remote server to be able to connect to it from your running pipeline. For example, once the SSH keys are set up for on the server (you can use a URL or IP address), the script below would list files under the /var/www directory without the need to provide a password.
bitbucket-pipelines.yml
image: node:4.6.0
   pipelines:
      default:
        - step:
           script:
              - ssh <user>@<server> ls -l /var/www
Don't forget to register all the servers that you need to connect to in the Known hosts section otherwise your pipeline will get stuck, waiting for approval, when you try to connect to the remote server.
Step 3: Use secured environment variables for API keys and credentials
If you need to use a remote API as part of your scripts, the chances are that your API provider lets you use their protected resources with an API key. You can safely add credentials to Bitbucket Pipelines using secured environment variables. Once saved you can invoke them in your scripts, and they'll stay masked in the log output.

Step 4: Run commands in non-interactive mode
If you need to install dependencies as part of your script, ensure that it does not prompt the user to ask for validation or input. Look into the documentation of the commands you are using to see if there is a flag that allows you to run them in a non-interactive way.
For instance, the flag -y in the command below will install PostgreSQL on a Debian server.
apt-get install -y postgresqlAnd the flag -q allows you to run Google Cloud SDK commands in a non-interactive way.
gcloud -q app deploy app.yamlStep 5: Build your own Docker images that are ready to go
Installing the dependencies necessary for your pipeline to run can be time-consuming. You could save a lot of running time by creating your own Docker image with the basic tools and packages required to build and test your application.
For instance, in the following Pipelines configuration, we install AWS CLI at the beginning to use it later to deploy the application to AWS Elastic Beanstalk.
bitbucket-pipelines.yml
image: node:7.5.0
   pipelines:
      default:
       - step:
          script: # Modify the commands below to build your repository.
           - apt-get update && apt-get install -y python-dev
           - curl -O https://bootstrap.pypa.io/get-pip.py
           - python get-pip.py
           - pip install awsebcli --upgrade
           - npm install
           - npm test
           - eb init helloworld-beanstalk-bbp -r eu-west-1 -p node
           - eb deploy hw-eb-tutorial
The issue here is that the AWS CLI does not change with every commit, which means that we're wasting some time installing a dependency that could be bundled by default.
The following Dockerfile could be used to create a custom Docker image ready for Elastic Beanstalk deployments.
Dockerfile
FROM node:7.5.0
RUN apt-get update \   && apt-get install -y python-dev \   && cd /tmp \   && curl -O https://bootstrap.pypa.io/get-pip.py \   && python get-pip.py \   && pip install awsebcli --upgrade \   && apt-get clean \   && rm -rf /var/lib/apt/lists/* /tmp/* /var/tmp/*
If I push it under the reference spittet/my-custom-image I can then simplify my Bitbucket Pipelines configuration to only contain the commands necessary to build, test and deploy my application.
bitbucket-pipelines.yml
image: spittet/my-custom-image
   pipelines:
     default:
       - step:
            script: # Modify the commands below to build your repository.
              - npm install
              - npm test
              - eb init helloworld-beanstalk-bbp -r eu-west-1 -p node
              - eb deploy hw-eb-tutorial
A final word: scripts are code too
These tips should help you turn manual tasks into automated processes that can be run repeatedly and reliably by a service like Bitbucket Pipelines. Eventually, they'll be the guardians of your releases and will be powerful tools able to trigger the deployment of your entire production environments across multiple servers and platforms.
This is why you need to treat your automation scripts as code and take them through the same review and quality process that you have for your code. Thankfully, this is something that can easily be done with Bitbucket as your pipeline configuration will be checked in with your code, allowing you to created pull requests in the right context.
And finally, don't forget to run scripts in a test environment before applying them to production – these extra minutes might save you from wiping out production data by mistake.
Share this article
Next Topic
Recommended reading
Bookmark these resources to learn about types of DevOps teams, or for ongoing updates about DevOps at Atlassian.

DevOps community

DevOps learning path
